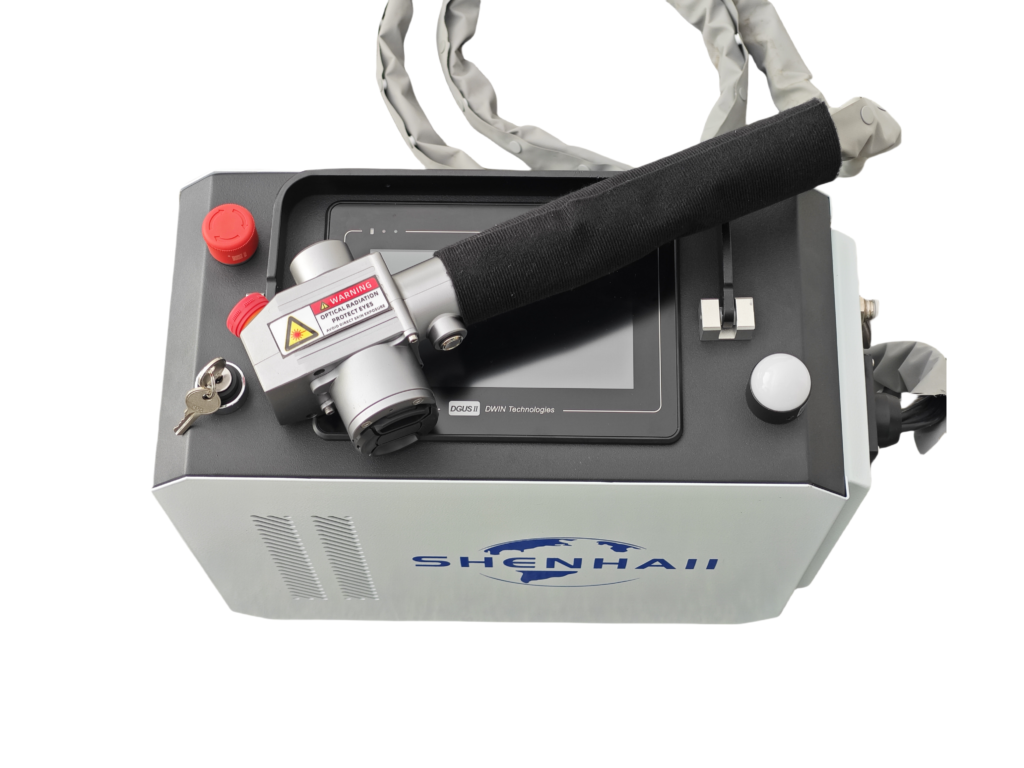
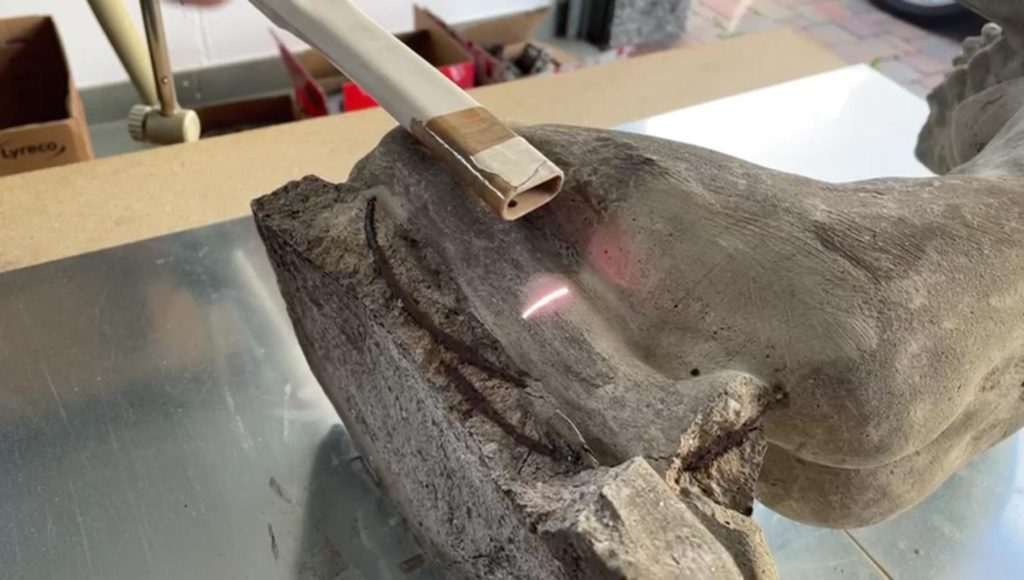
The Hercules Series Aggressive Laser Cleaning Machine stands as a testament to advanced technology in the field of surface treatment, blending high performance with unparalleled versatility. Designed for heavy-duty applications such as automobile gear rust cleaning, antique car refurbishment, and heavy machinery maintenance, this machine boasts an array of impressive features that ensure efficiency, reliability, and safety. One of its key strengths lies in the use of imported electrical parts, which contribute significantly to its robust performance. This article will delve into how these imported electrical parts can be replaced, ensuring that your Hercules Series Laser Cleaning Machine remains operational at its peak.
Features Highlighting Imported Electrical Parts
High-Quality Components
Almost all electrical parts of the Hercules Series Aggressive Laser Cleaning Machine are sourced from renowned international brands. These parts are not only of superior quality but also designed to withstand the rigors of long-term, high-power laser operations. From precision lasers to intricate circuitry, each component plays a crucial role in maintaining the machine’s high performance.
Easy Replacement
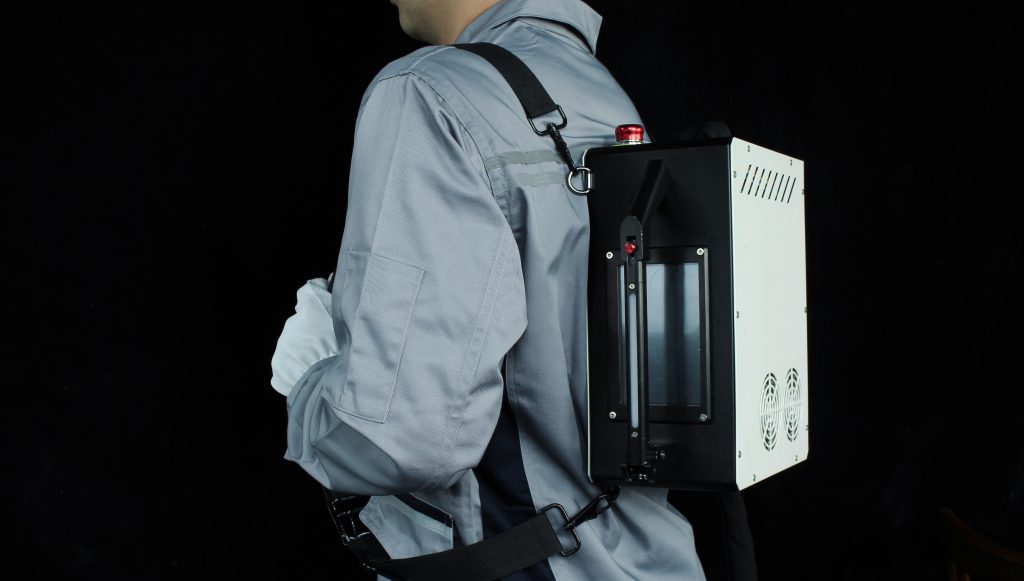
One of the significant advantages of using imported electrical parts is their ease of replacement. The Hercules Series is engineered in such a way that these parts can be accessed and swapped out anytime and anywhere, minimizing downtime and ensuring seamless operation. This modularity is crucial for maintaining productivity in industrial settings where time is a precious commodity.

Steps for Replacing Imported Electrical Parts
1. Identify the Faulty Component
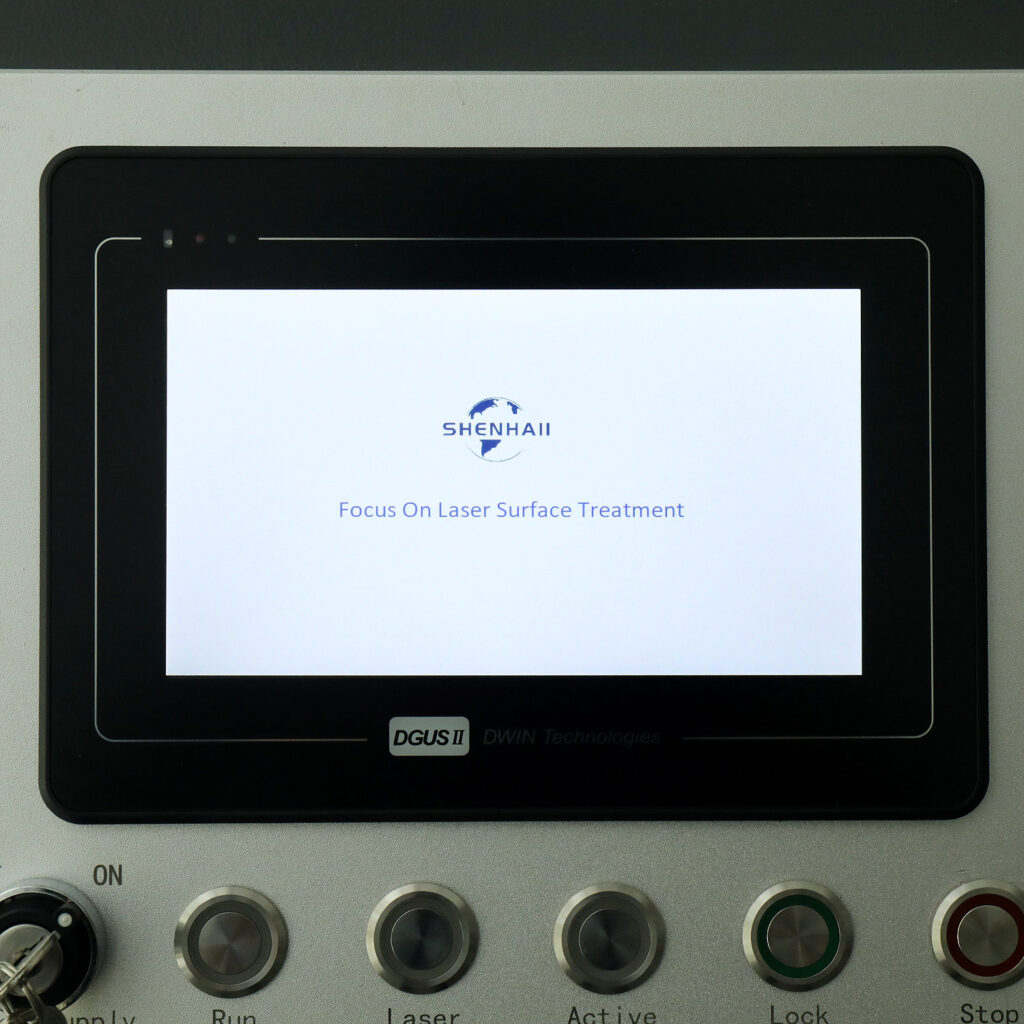
The first step in replacing any electrical part is accurately diagnosing the issue. Utilize the machine’s diagnostic tools or consult the technical manual to pinpoint the faulty component. The Hercules Series is equipped with separate protection circuits for each core component, which can help isolate problems quickly.
2. Obtain the Replacement Part
Once the faulty part is identified, source the replacement from an authorized dealer or directly from the manufacturer. Ensure that the replacement part is compatible with your machine’s specifications and is of the same high quality as the original imported component.
3. Prepare for Replacement
Before starting the replacement process, ensure that the machine is switched off and all power sources disconnected. Follow the safety protocols outlined in the user manual to prevent any accidents during the procedure.
4. Access and Remove the Faulty Part
Using the appropriate tools, access the location of the faulty part. Depending on the component, this may involve removing panels or covers. Carefully disconnect any wiring or connectors and gently remove the faulty part.

5. Install the Replacement Part
Position the new part correctly and reconnect all wiring and connectors. Ensure that all screws and fasteners are securely tightened to prevent any loose connections.
6. Test the Machine
Once the replacement part is installed, reconnect the power sources and turn on the machine. Run a diagnostic test to ensure that the new part is functioning correctly and that there are no other underlying issues.
7. Document the Procedure
Keep a record of the replacement process, including the part number, date of replacement, and any additional notes. This documentation can be invaluable for future maintenance and troubleshooting.

Conclusion
The Hercules Series Aggressive Laser Cleaning Machine is a powerful tool for a wide range of industrial cleaning applications. Its use of imported electrical parts ensures high performance and reliability, with the added benefit of easy replacement. By following the steps outlined above, you can efficiently replace any faulty components, keeping your machine running smoothly and maintaining optimal productivity. With its advanced features and modular design, the Hercules Series continues to set the standard for laser cleaning technology.