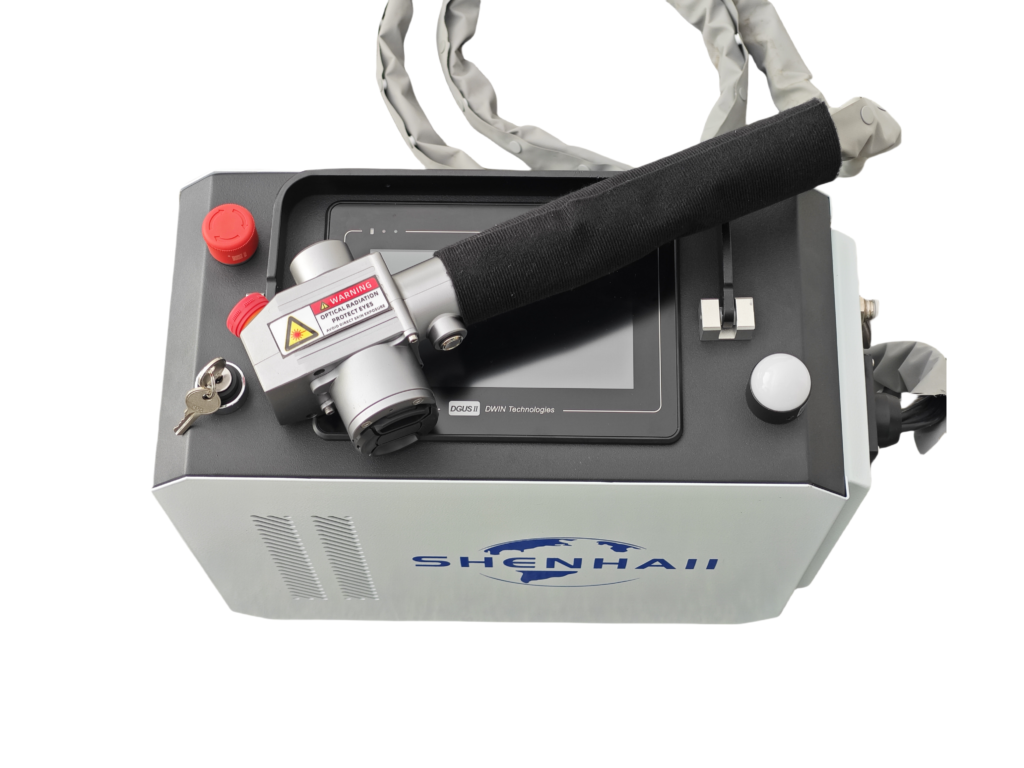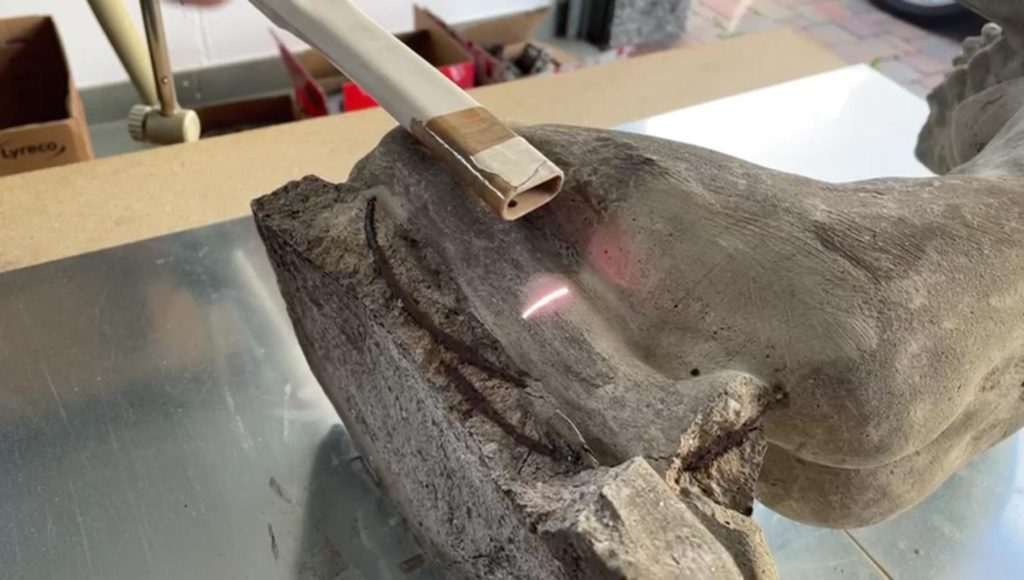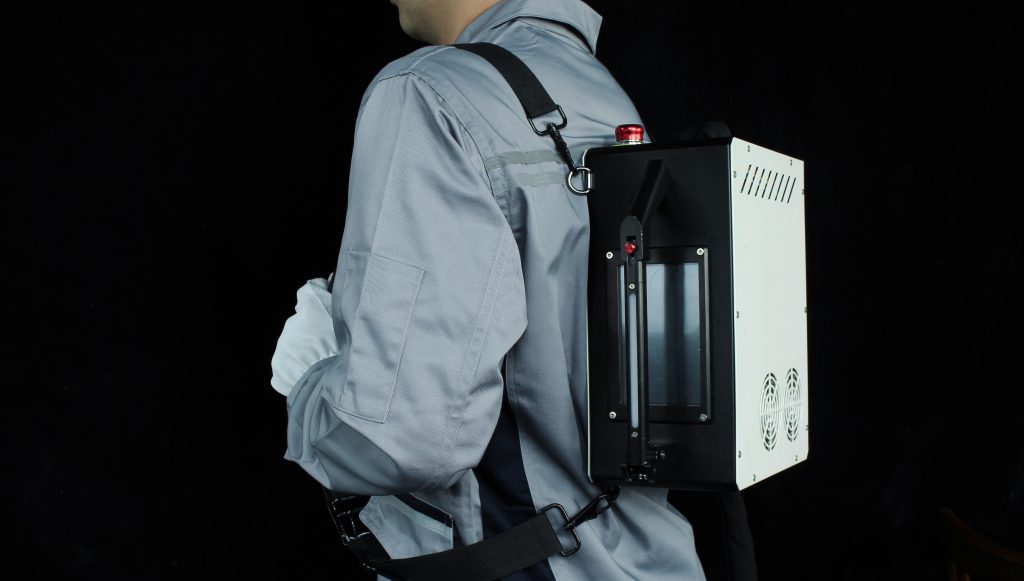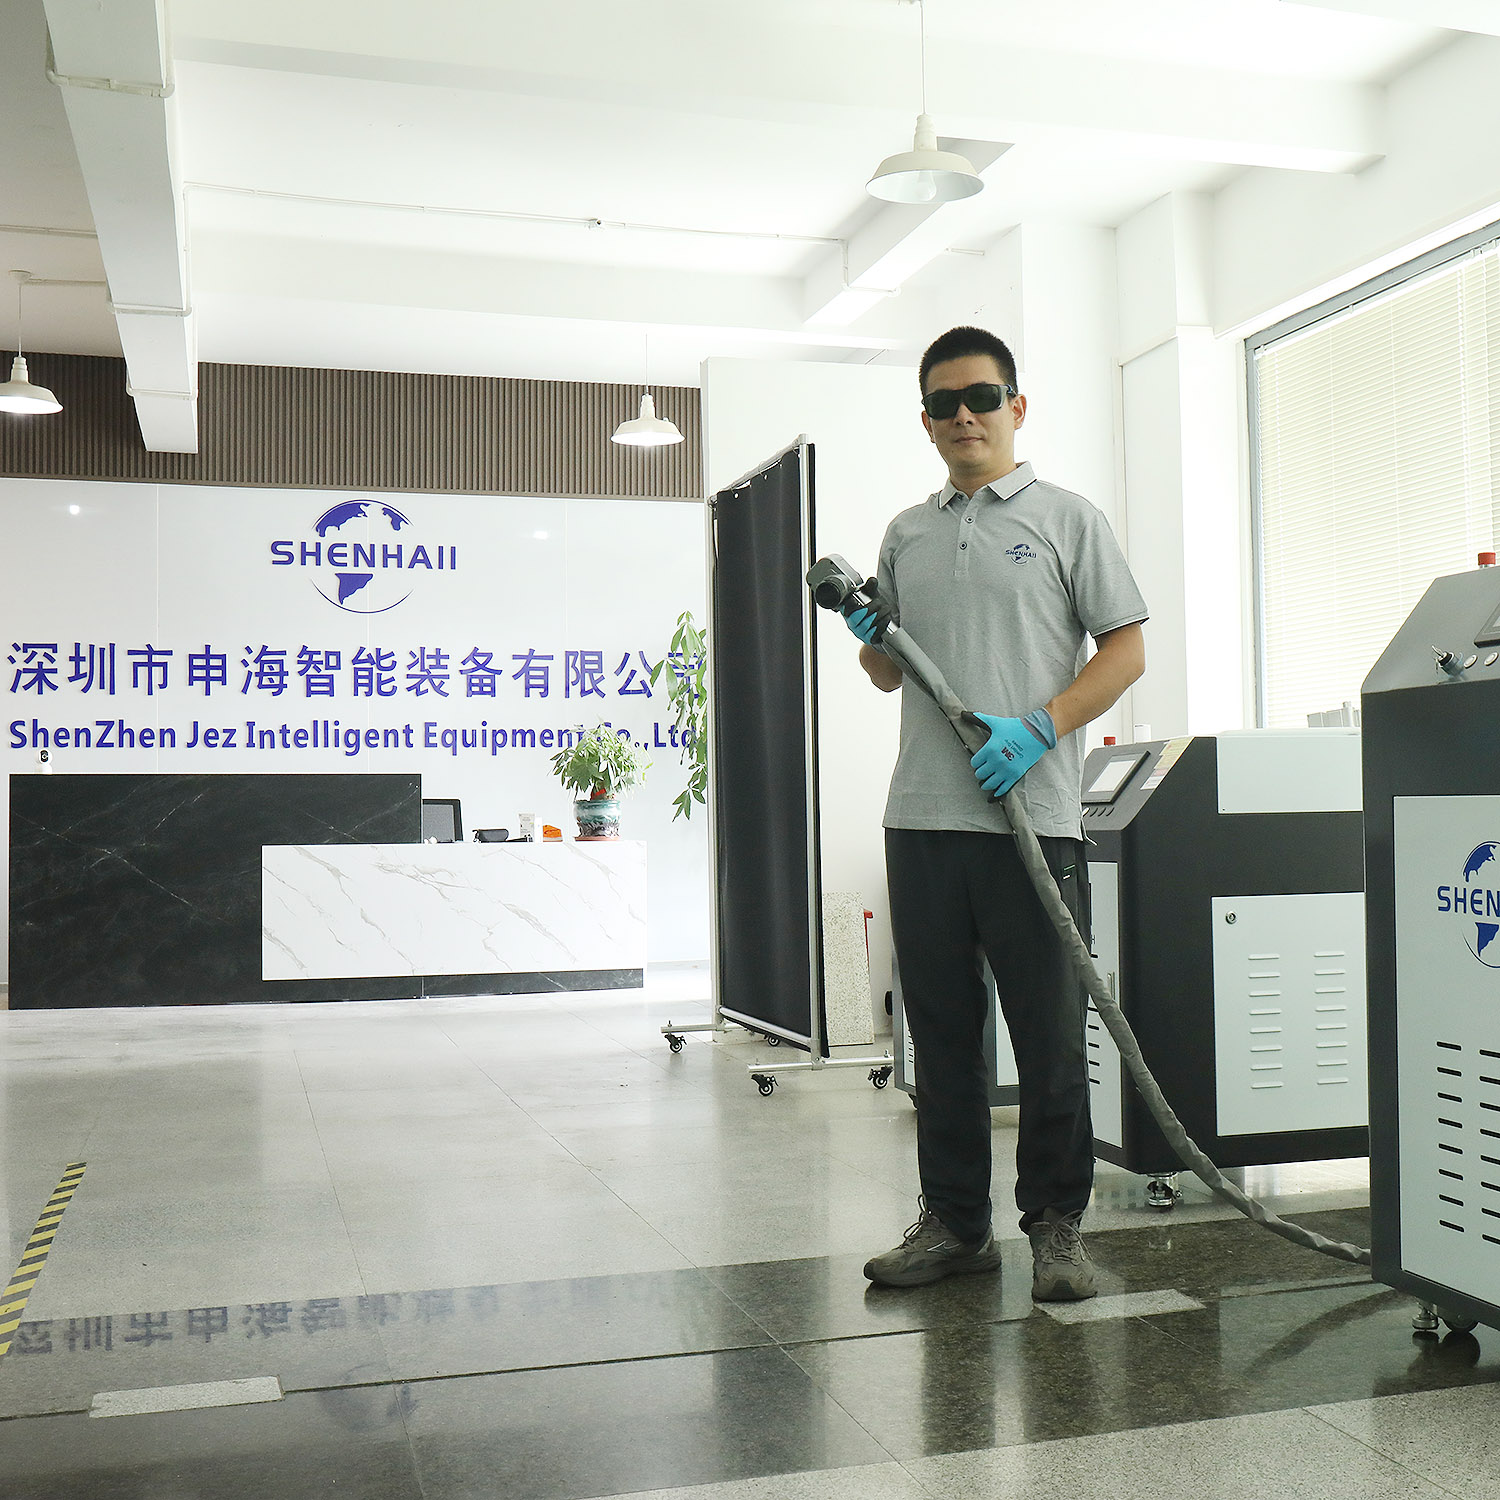
The Cupid Series Precision Laser Cleaning Machine is a cutting-edge tool designed for efficient and precise cleaning applications across various industries. Utilizing a large laser spot and high single pulse energy fiber laser, this machine ensures simple operation and offers efficient multiple laser cleaning patterns. With its robust features and imported electrical parts, maintaining and replacing components as needed is crucial for optimal performance. This guide will walk you through the step-by-step process of replacing parts on the Cupid Series Precision Laser Cleaning Machine.
Preparation Before Replacement
- Safety First: Ensure the machine is turned off and disconnected from the power source. Engage the multiple safety operation locks to prevent accidental activation.
- Reference Manuals: Have the machine’s user manual and any specific component replacement guides readily available for reference.
- Tools and Replacement Parts: Gather all necessary tools (screwdrivers, wrenches, etc.) and the exact replacement parts, ensuring they are compatible with your machine’s specifications.
- Work Environment: Prepare a clean, organized workspace to avoid damaging any components during the replacement process.
Identifying and Accessing Parts
- Locating Parts: Refer to the machine’s schematic or parts list to identify the exact location of the component needing replacement.
- Removing Panels: Carefully remove any panels or covers using the appropriate tools, ensuring all screws and fasteners are kept in a safe place.
Replacing Electrical Parts
Given that almost all electrical parts are imported brands and can be replaced anytime and anywhere, follow these steps:
- Disconnect Power: Double-check that the machine is fully powered down and all safety measures are in place.
- Locate and Unplug: Identify the faulty electrical part and carefully unplug any wires or connectors.
- Remove Mounting Hardware: Use the appropriate tools to remove any screws or brackets securing the part.
- Install Replacement Part: Fit the new part, securing it with the original mounting hardware. Ensure all connections are tight and properly seated.
- Reconnect and Test: Plug in any wires or connectors and power the machine back on under supervision. Run a diagnostic test to confirm proper functionality.
Replacing the Cleaning Head
The high-speed cleaning head with an E-Stop button is crucial for efficient operation. Here’s how to replace it:
- Safety Lockout: Engage the E-Stop button and ensure the machine is off.
- Access Cleaning Head: Follow the machine’s manual to locate and access the cleaning head assembly.
- Disconnect and Remove: Carefully disconnect any associated wiring and unscrew the cleaning head from its mount.
- Install New Head: Fit the new cleaning head, ensuring all connections are secure and properly aligned.
- Reconnect and Verify: Reattach any wires, reconnect power, and verify that the new cleaning head operates as expected.
Additional Components
For other components such as the F-theta focus lens, shielding gas nozzles, or external control interfaces, follow similar steps:
- Locate and Isolate: Identify the component, disconnect power if necessary, and isolate it from the rest of the system.
- Remove and Replace: Carefully remove the old component and install the new one, following any specific installation instructions.
- Reconnect and Test: Reconnect any necessary wiring or tubing, power on the machine, and perform a thorough test to ensure everything is functioning correctly.
Post-Replacement Checks
- Safety Verification: Re-engage all safety locks and verify that all emergency stop mechanisms are functioning.
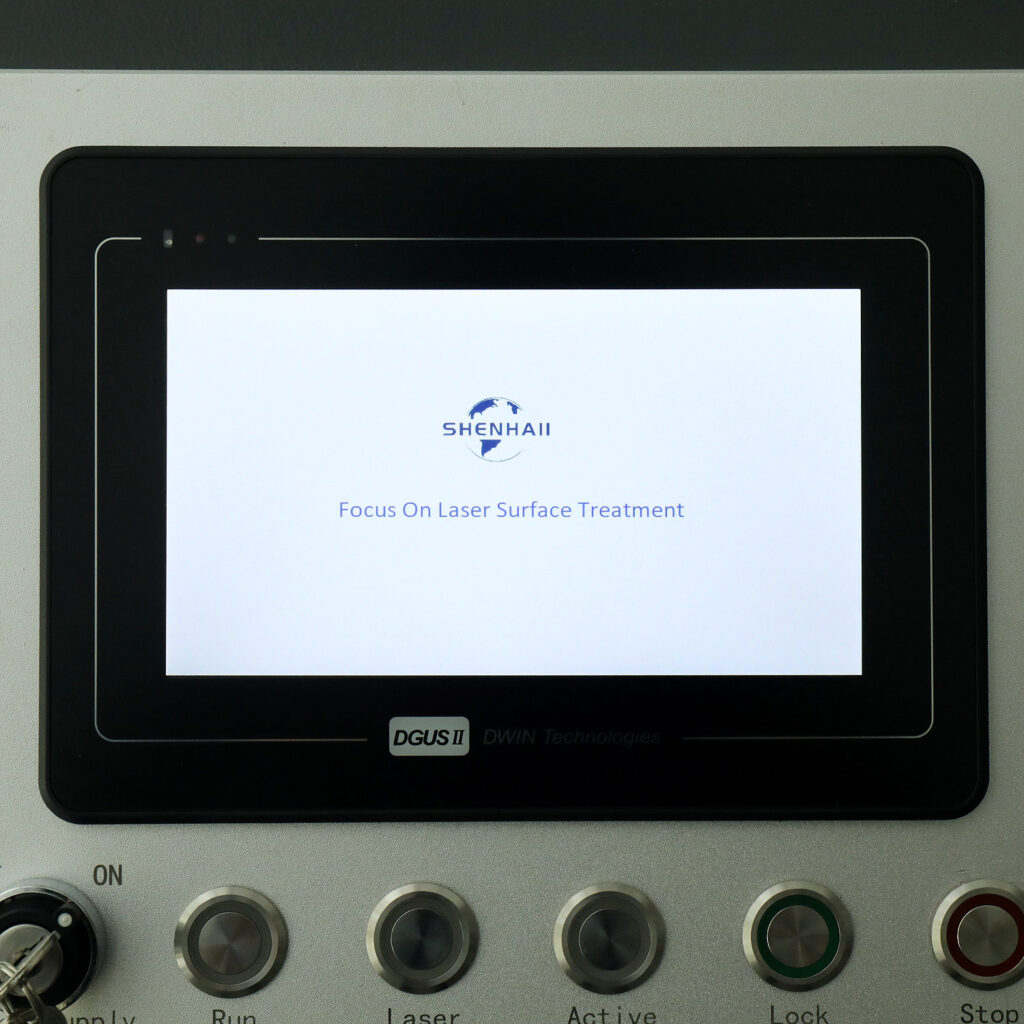
- Parameter Verification: Load and verify working parameters to ensure they match the specifications for the replaced parts.
- Operational Test: Run the machine through its full range of operations, checking for any anomalies or errors.
- Documentation: Update any maintenance logs or records with details of the replacement, including part numbers, dates, and any additional notes.
Conclusion
Replacing parts on the Cupid Series Precision Laser Cleaning Machine requires careful preparation, precise execution, and thorough testing. By following this step-by-step guide, you can ensure that your machine remains in optimal condition, ready to tackle a wide range of cleaning applications from automotive maintenance to aerospace cleaning and beyond. Always prioritize safety and refer to the machine’s manual for detailed instructions specific to your model.